DIY Vertical Herb Garden from Plastic Bottles: Sustainable Urban Gardening

Introduction
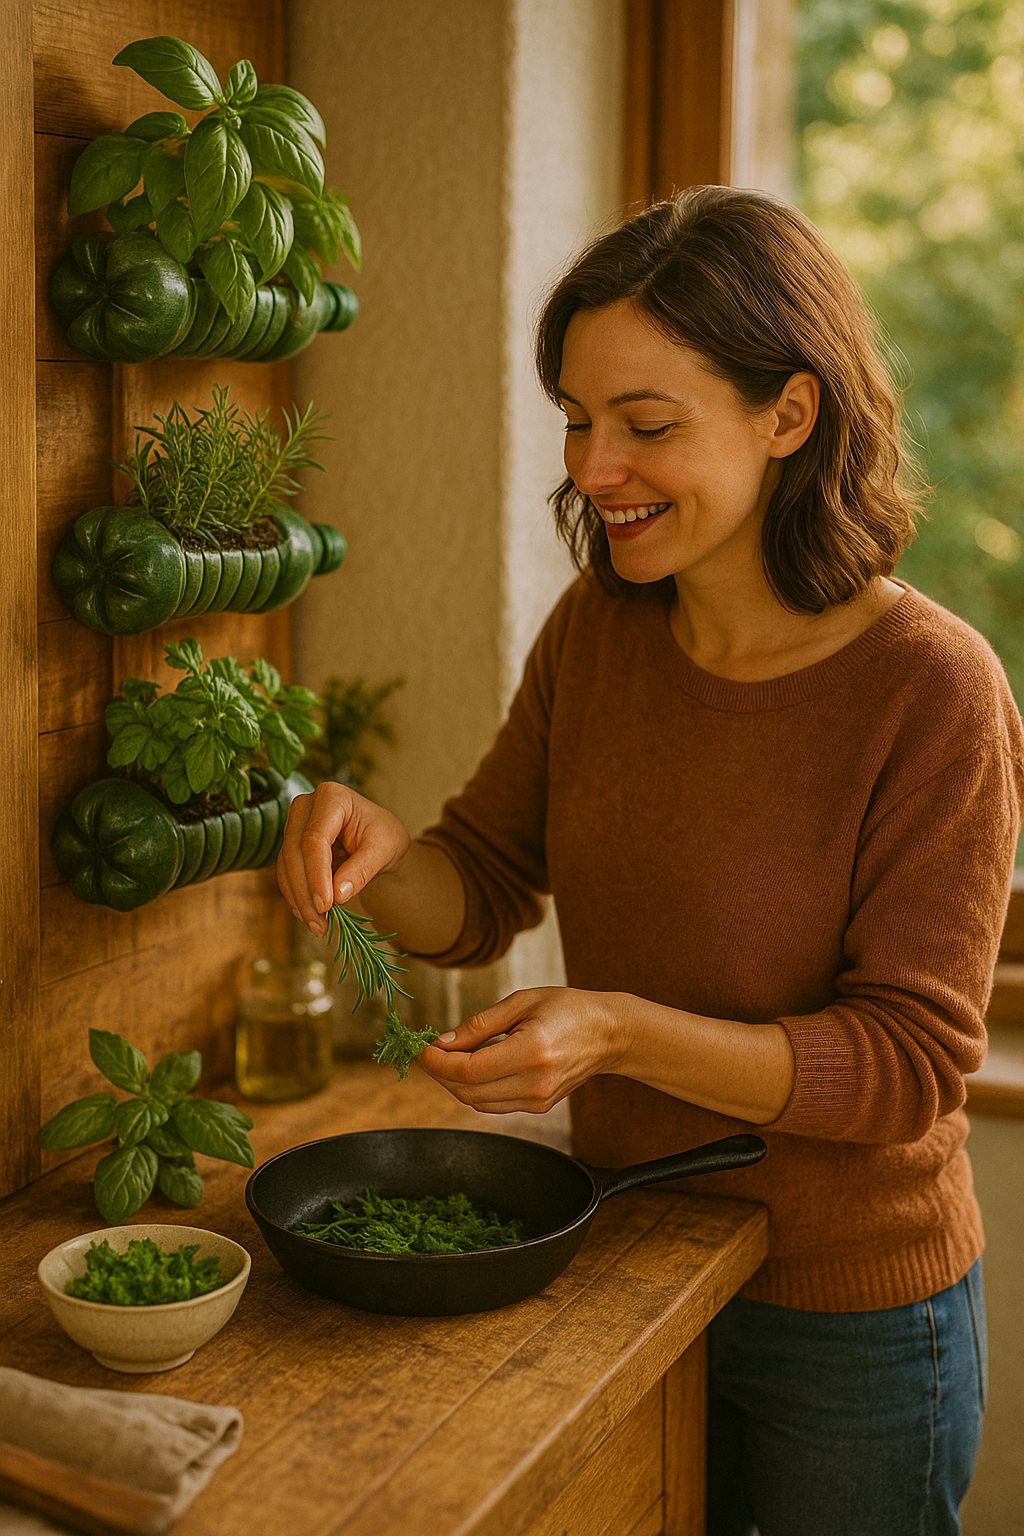
Creating an inviting backyard oasis doesn’t require a large budget or extensive space. Among the many budget-friendly DIY projects that can transform your outdoor area, a DIY vertical herb garden from plastic bottles stands out as particularly ingenious. This eco-friendly project addresses two common challenges urban gardeners face: limited space and sustainable gardening. By repurposing plastic bottles that would otherwise end up in landfills, you can create a functional, attractive herb garden that takes up minimal horizontal space while adding a touch of greenery to your backyard oasis. Best of all, this project costs almost nothing to implement while providing fresh herbs just steps away from your kitchen.
What You’ll Learn in This Guide
For broader inspiration on transforming your outdoor space, check out our 10 Budget-Friendly DIY Projects to Transform Your Backyard into an Oasis
In this specific tutorial, you’ll discover:
🌿 How to select and prepare plastic bottles for herb gardening
✂️ Step-by-step instructions for creating a hanging vertical garden
🌱 Best herbs to grow in a plastic bottle vertical garden
💧 Watering and maintenance tips for your vertical herb garden
♻️ Creative design variations to match your backyard aesthetic
Why Create a Vertical Herb Garden from Plastic Bottles?
According to the Environmental Protection Agency, Americans discard about 35 billion plastic bottles annually, with only about 25% being recycled. By repurposing these bottles for your herb garden, you’re not just creating something useful; you’re actively participating in environmental conservation.
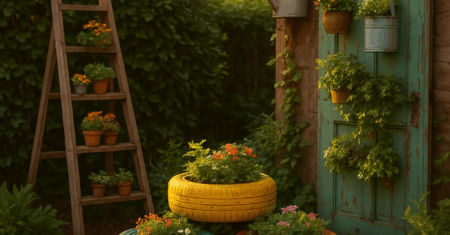
Vertical gardening maximizes your growing space by utilizing vertical planes rather than valuable ground space. This approach is ideal if you have a small balcony, patio, or limited yard space. A vertical herb garden also improves accessibility, making herb harvesting and maintenance easier without bending or kneeling.
Beyond the practical benefits, a bottle herb garden creates a visually interesting focal point in your backyard. The cascading greenery adds texture and life to blank walls or fences, transforming these otherwise unused vertical spaces into productive growing areas.

Materials Needed for Your Vertical Herb Garden
Essential Supplies Checklist
Before starting your project, gather these materials:
- 5-10 clean plastic bottles (2-liter soda bottles work best)
- Sharp scissors or utility knife
- Drill with small bits (1/8″ to 1/4″)
- Strong cord, wire, or fishing line
- Potting soil formulated for herbs
- Herb seeds or seedlings
- Small pebbles or gravel for drainage
- Optional: spray paint suitable for plastic
- Optional: wall anchors if hanging on masonry
Pro Tip: Choose bottles of similar size and shape for a more uniform appearance, or intentionally mix different bottles for an eclectic, artistic effect. Clear bottles allow you to monitor soil moisture levels, while colored or painted bottles can complement your backyard color scheme.
Preparing Your Plastic Bottles
Bottle Selection and Preparation
The first step in creating your vertical herb garden is properly preparing the plastic bottles:
- Remove all labels and thoroughly wash bottles with warm, soapy water
- Rinse completely to remove any soap residue
- Allow bottles to dry completely before cutting
When selecting bottles, consider these factors:
| Bottle Type | Best For | Considerations |
|---|---|---|
| 2-liter soda bottles | Larger herbs like basil, mint | Provides more soil volume |
| 1-liter water bottles | Medium herbs like parsley, cilantro | Good balance of space and weight |
| 20oz bottles | Small herbs like thyme, oregano | Lighter, easier to hang |
| Shaped bottles | Decorative effect | May be harder to cut evenly |
If you want to add color to your garden, now is the time to paint the bottles. Choose spray paint specifically formulated to adhere to plastic, and apply 2-3 light coats rather than one heavy coat to prevent drips and ensure durability outdoors.
For a consistent, professional look, you can 10 Budget-Friendly DIY Projects to Transform Your Backyard into an Oasis by matching colors with other elements in your outdoor space.
Constructing Your Vertical Herb Garden
Step-by-Step Assembly Instructions
Now that your bottles are prepped, follow these steps to create your vertical herb garden:
- Cut the bottles:
- For horizontal placement: Cut a large rectangular opening in one side of each bottle, leaving at least 1″ at the bottom and 1/2″ on each side
- For vertical placement: Cut the bottle in half horizontally, using the bottom half as the planter
- Create drainage holes:
- Drill or poke 3-5 small holes in the bottom of each bottle
- For horizontal bottles, also add 1-2 small holes at the lowest point of the side that will face down
- Add drainage material:
- Place a small layer of pebbles or gravel at the bottom of each bottle to prevent soil from washing out and to improve drainage
- Prepare for hanging:
- For a simple vertical arrangement: Drill two holes near the top of each bottle, directly across from each other
- For a cascading design: Create a central support line with bottles hanging at different levels
- Connect the bottles:
- For a vertical column: Thread strong cord or wire through the holes in each bottle, ensuring they’re secure
- For a horizontal arrangement: Create anchor points on your fence or wall, then attach each bottle individually
Creating a Self-Watering System
For an advanced version, you can create a self-watering vertical garden:
- Cut a small hole in the cap of each bottle
- Thread a piece of cotton rope or strip of felt through the cap
- When assembling, position bottles so that the cap of one bottle drips into the bottle below
- Water only the top bottle; gravity and the wicking material will distribute water to lower bottles
This self-watering system is particularly useful if you sometimes forget to water your herbs or during hot summer months when more frequent watering is necessary.
Planting Your Vertical Herb Garden
Choosing the Right Herbs
Not all herbs are equally suited for growing in plastic bottles. Consider these factors when selecting herbs:
- Root depth requirement: Choose herbs with shallow to medium root systems
- Growth habit: Trailing herbs work well in vertical arrangements
- Sunlight needs: Group herbs with similar light requirements together
- Water requirements: Combine herbs with similar watering needs
Here are some excellent herbs for your vertical bottle garden:
- Basil – Needs good sunlight and regular watering
- Mint – Vigorous grower, perfect for its own container
- Thyme – Drought tolerant with shallow roots
- Oregano – Sun-loving and doesn’t need frequent watering
- Parsley – Tolerates partial shade and moderate watering
- Chives – Compact growth with minimal space requirements
- Cilantro – Prefers cooler conditions, good for partially shaded areas
Planting Instructions:
- Fill each bottle about 3/4 full with potting soil
- Plant 1-2 herb varieties per bottle, depending on size
- For seeds: Follow packet instructions for planting depth
- For seedlings: Create a hole in the soil, insert the roots, and gently firm around them
- Water thoroughly after planting
- Label each bottle with the herb name using waterproof markers or tags
Attention! When using herb seedlings from a nursery, gently loosen the root ball before planting to encourage roots to grow outward into the new soil.
For more extensive herb garden ideas, check out our article on DIY Vertical Garden Systems for Small Patios: Space-Saving Solutions
Maintaining Your Bottle Herb Garden
Watering and Fertilizing
Proper maintenance ensures your herb garden remains productive and attractive:
Watering Guidelines:
- Check soil moisture every 1-2 days during warm weather
- Water when the top inch of soil feels dry
- For horizontal bottles, water slowly to prevent runoff
- In hot weather, water in the early morning or evening to reduce evaporation
Fertilizing Schedule:
- Apply diluted liquid organic fertilizer every 2-3 weeks during growing season
- Use half the recommended strength to avoid burning herbs in the limited soil volume
- Alternatively, add slow-release organic fertilizer pellets when planting
- Stop fertilizing most herbs about 2 weeks before first expected frost
Seasonal Considerations
Your vertical herb garden will need different care throughout the seasons:
Spring:
- Start seeds indoors 6-8 weeks before last frost
- Transplant seedlings after danger of frost has passed
- Position garden to capture spring sunlight while protecting from strong winds
Summer:
- Monitor water needs more frequently as temperatures rise
- Harvest regularly to encourage new growth
- Consider providing afternoon shade in extremely hot climates
Fall:
- Harvest abundantly before first frost
- Bring tender perennial herbs indoors if possible
- Consider replanting cold-hardy herbs for winter harvests
Winter:
- In mild climates (Zones 9-11), maintain garden with reduced watering
- In colder regions, either treat as annuals or bring indoors near a sunny window
Regional Variation: In arid regions, you may need a self-watering system or more frequent watering. In humid areas, ensure good air circulation to prevent fungal issues.
Troubleshooting Common Issues
Even the best-planned herb gardens can encounter problems. Here are solutions for common issues:
Addressing Plant Health Problems
| Problem | Possible Causes | Solutions |
|---|---|---|
| Yellowing leaves | Overwatering, nutrient deficiency | Reduce watering; apply balanced fertilizer |
| Leggy growth | Insufficient light | Move to sunnier location; prune to encourage bushier growth |
| Pest infestation | Aphids, spider mites | Spray with neem oil or insecticidal soap; introduce beneficial insects |
| Stunted growth | Poor soil, container too small | Refresh soil; transplant to larger bottle if needed |
| Wilting despite moist soil | Root rot from poor drainage | Improve drainage; replace affected plants |
Design Challenges and Solutions
- Bottles swinging in wind: Add weight to the bottom bottles or secure to wall/fence at multiple points
- Uneven water distribution: Implement a drip irrigation system with small tubes to each bottle
- Unattractive appearance: Paint bottles complementary colors or wrap with natural materials like jute
- UV degradation of plastic: Apply UV-resistant clear coat to extend bottle life or replace bottles annually
Tip: If moving your vertical garden indoors for winter, place a tray underneath to catch excess water and protect indoor surfaces.
Harvesting and Using Your Fresh Herbs
A well-maintained vertical herb garden provides a convenient source of fresh herbs right outside your door. To maximize production and flavor, follow these harvesting tips:
- Harvest in the morning after dew has dried but before the heat of the day
- Use sharp, clean scissors to avoid damaging plants
- Take no more than one-third of the plant at a time
- For most herbs, regular harvesting encourages bushier growth and higher yield
Some herbs, like basil and mint, should have their flower buds pinched off to direct energy to leaf production and maintain the best flavor.
Your vertical herb garden doesn’t just provide culinary ingredients—it creates a multisensory experience in your backyard oasis. The gentle cascade of green foliage, the aromatic fragrances released when you brush against the plants, and the satisfaction of harvesting fresh herbs for your meals all contribute to the tranquil environment you’ve created.
Frequently Asked Questions About DIY Bottle Herb Gardens
🌿 Which plastic bottles are safe for growing edible herbs?
Look for bottles with recycling codes #1 (PET) or #2 (HDPE), which are considered food-safe. Avoid bottles that contained chemicals, cleaning products, or non-food items. Always thoroughly clean bottles regardless of their previous contents, and if you’re concerned, use bottles that only contained drinking water.
🌧️ How do I prevent my vertical herb garden from becoming waterlogged during rainy periods?
Ensure each bottle has sufficient drainage holes, and position your garden where it has some protection from heavy rainfall. In particularly rainy seasons, you can temporarily move the garden to a more sheltered location or add a simple clear plastic cover that allows light but deflects excess water.
☀️ Can I grow herbs in plastic bottles in full sun, or will the bottles overheat?
While herbs generally need good sunlight, plastic bottles can indeed heat up in intense direct sun. In hot climates, position your garden where it receives morning sun and afternoon shade, or paint bottles a light color to reflect heat. Watch your herbs for signs of stress during heat waves and water more frequently if needed.
🌱 How often should I replace the herbs or the bottles in my vertical garden?
Annual herbs will need replacement each growing season. Perennial herbs may outgrow their bottles after 1-2 years and benefit from division or transplanting to larger containers. The plastic bottles themselves should be replaced when they show signs of UV degradation (becoming brittle or discolored), typically every 1-2 years depending on your climate and sun exposure.
Additional Resources
Ready to expand your backyard transformation journey? Explore these helpful resources:
- 10 Budget-Friendly DIY Projects to Transform Your Backyard into an Oasis
- Transform Your Patio with These 5 Low-Cost Ideas
- 3 Low Light Plants That Thrive in Apartments
- 10 Home Decor Ideas to Transform Your Space on a Budget 💡🏠
- How Your Home Design Affects Your Physical and Mental Health
Have you created a vertical herb garden from plastic bottles? We’d love to see your creations! Share photos in the comments below or tag us on social media with #BottleHerbGarden.
Related Articles


About the Author

0 Comments