Transform Your Patio with These 5 Low-Cost Ideas

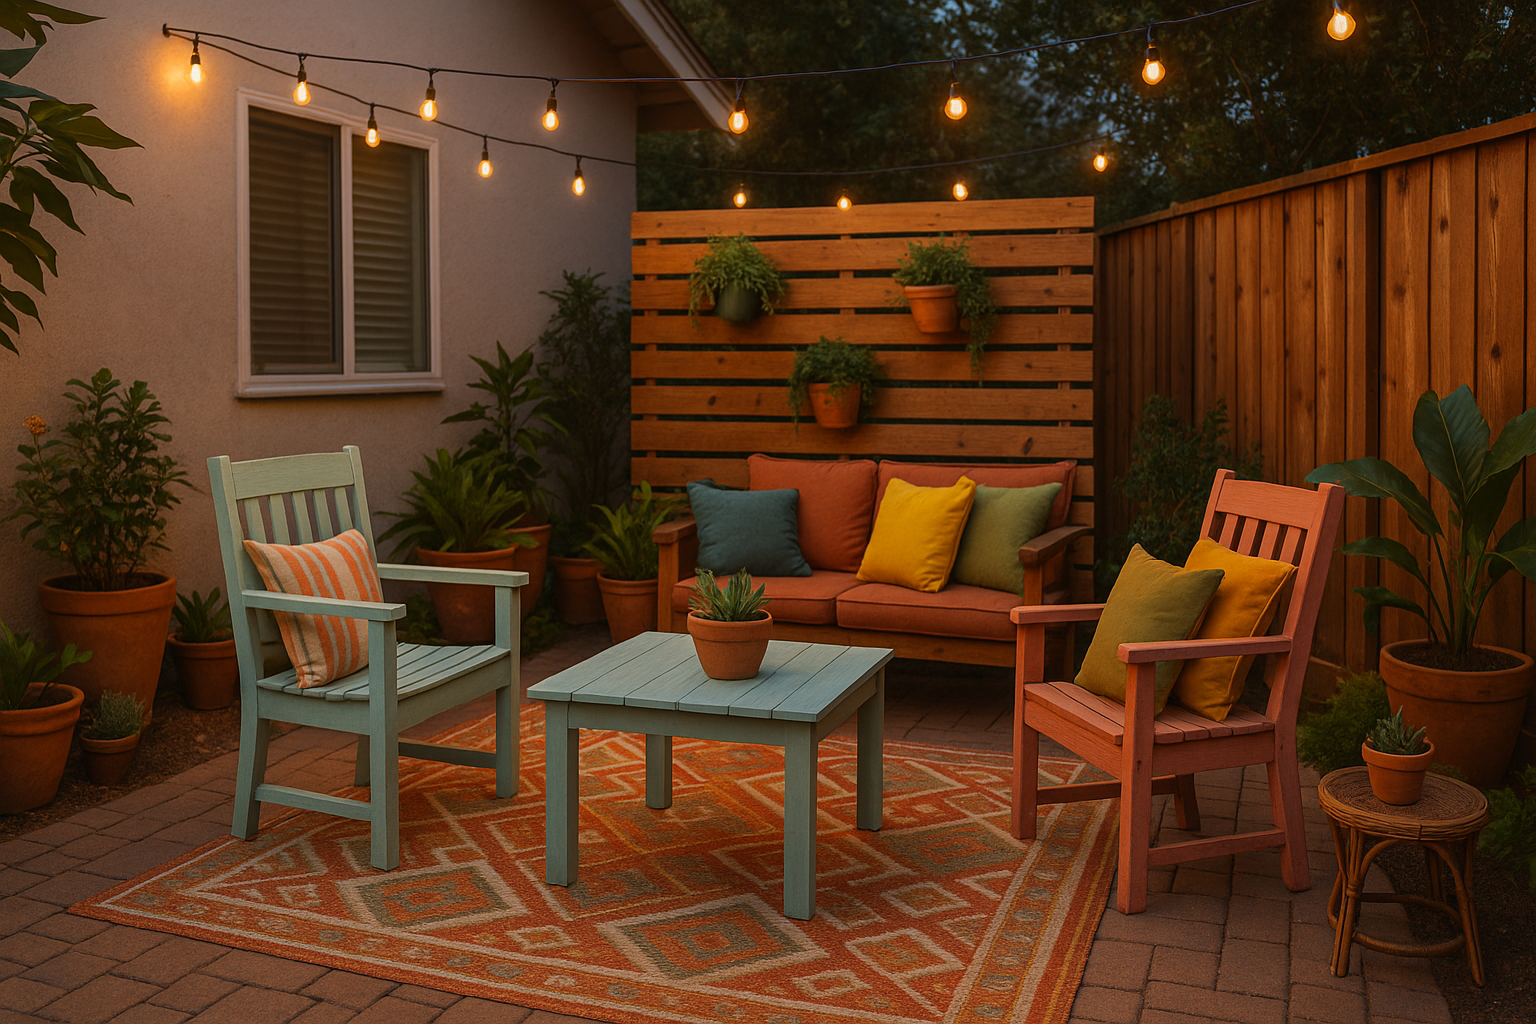
Introduction
Creating your own backyard oasis doesn’t have to drain your bank account, as we explored in our comprehensive guide 10 Budget-Friendly DIY Projects to Transform Your Backyard into an Oasis. While that guide covers a range of possibilities for your entire outdoor space, today we’re focusing specifically on one critical area that often serves as the heart of outdoor entertaining: your patio. This hardscaped area presents unique opportunities for transformation without major construction or expense.
Patio renovations traditionally carry a reputation for being costly endeavors, with professional landscaping companies charging thousands for comprehensive makeovers. However, with some creativity, smart shopping, and willingness to roll up your sleeves, you can dramatically transform your patio space on a minimal budget. These ideas combine aesthetic appeal with practical functionality, ensuring your outdoor living area becomes a welcoming extension of your home without breaking the bank.
What You’ll Discover About Budget Patio Transformations 🌿
- 🪑 Simple furniture updates that create maximum impact without maximum cost
- 🌱 Strategic use of plants to divide space and create ambiance for under $100
- 💡 Lighting solutions that transform evening atmosphere for pennies a day
- 🎨 DIY decorative elements that personalize your space with minimal investment
- 🧩 Small-scale projects you can complete in a single weekend
For more comprehensive backyard transformation ideas, check out our main guide on 10 Budget-Friendly DIY Projects to Transform Your Backyard into an Oasis.
Why Your Patio Deserves Special Attention
According to a recent National Association of Realtors study, homeowners who complete a patio renovation can recover approximately 80% of their investment upon selling their home. This makes patio improvements among the most financially rewarding outdoor projects. However, with the average professional patio renovation costing between $2,000 and $10,000, finding budget-friendly alternatives becomes essential for most homeowners.
Your patio serves as the transitional space between indoors and outdoors, making it uniquely positioned to enhance your home’s perceived square footage and livability. Unlike other backyard projects that might be purely decorative or seasonal, patio improvements deliver year-round functionality as an outdoor dining space, relaxation area, or entertainment zone. By focusing your efforts on this defined space rather than tackling your entire yard, you can achieve dramatic results with a concentrated investment of time and money.
The strategies we’ll explore focus on maximizing visual impact while minimizing expense, proving that transformative design doesn’t require professional help or premium materials. With the right approach, even $500 or less can completely reinvent your outdoor living experience.
1. Create an Outdoor Rug Using Paint and Stencils
One of the quickest ways to transform your patio’s appearance is by adding a decorative “rug” directly onto your concrete or pavers. Unlike actual outdoor rugs that fade, collect mildew, and require replacement every few seasons, a painted design can last for years with minimal maintenance.
Start by thoroughly cleaning your patio surface and allowing it to dry completely. Choose concrete floor paint in your desired base color (light colors work best as foundations), and apply 1-2 coats according to manufacturer instructions. Once dry, use large stencils (available at craft stores or online for $15-30) to create patterns with contrasting colors. Geometric patterns like Moroccan tiles or Greek keys are particularly forgiving for beginners and create dramatic visual interest.
Pro Tip: Add a tablespoon of fine sand to your paint for the stenciled design to provide subtle texture and prevent slipping when the surface is wet. Finish with a clear concrete sealer to ensure longevity and weather resistance.
This project typically costs $75-100 total (depending on the size of your patio) but creates the same visual impact as outdoor rugs costing $200-500, with much greater durability against the elements.
2. Install Strategic Lighting for Evening Ambiance
The right lighting can completely transform how your patio feels after sunset, creating a welcoming atmosphere for considerably less than most homeowners expect. Unlike permanent electrical fixtures that require professional installation, today’s solar and battery-powered options provide flexibility without adding to your energy bills.
String lights remain the most cost-effective way to create overhead lighting with maximum impact. Look for commercial-grade LED options (approximately $25-40 per 50-foot strand) that can withstand weather exposure. Install by creating a grid pattern above your patio using eye hooks in nearby structures or inexpensive poles secured in planters for support.
For table illumination, consider:
- Solar-powered lanterns ($10-15 each)
- Battery-operated flameless candles ($15-20 for a set)
- Rechargeable LED table lamps ($30-45)
Pathway lighting along the edges of your patio creates depth and safety. Solar stake lights cost as little as $2-3 each when purchased in multi-packs and require zero electrical work to install.
By layering these different lighting elements, you can create a patio that feels like an upscale restaurant’s outdoor dining area for under $100 total.
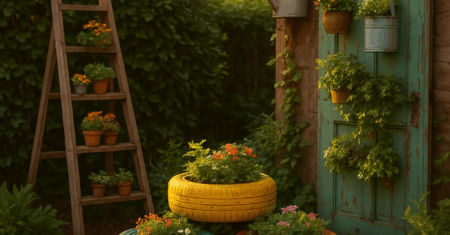
3. Build Vertical Planters from Repurposed Materials
Vertical gardening solves multiple patio challenges simultaneously: it adds lush greenery without consuming valuable floor space, creates privacy screening, and establishes visual focal points. While store-bought vertical planters can cost hundreds, creating your own from repurposed materials delivers the same impact for a fraction of the price.
One of the simplest approaches uses wooden pallets, which can often be acquired for free from businesses or online marketplaces. To convert a pallet into a vertical garden:
- Sand any rough edges and apply outdoor wood sealer
- Staple landscape fabric to the back and bottom
- Stand upright and fill horizontal openings with soil
- Plant trailing varieties and compact plants in the openings
- Secure to a wall or use feet attachments for stability
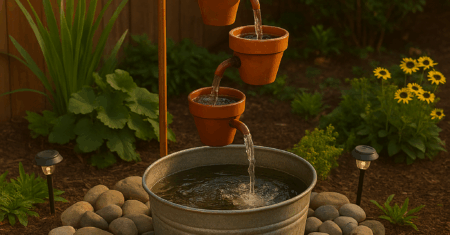
For smaller vertical elements, consider:
- Repurposed gutters mounted horizontally for herb gardens
- Hanging shoe organizers lined with plastic for cascading plants
- Painted tin cans attached to fence boards for colorful displays
The entire project typically costs $30-75 depending on your choice of plants, and creates a living wall effect that would cost $300+ if purchased as a pre-made system.
Attention: When selecting plants, choose varieties suited to your climate zone and the specific light conditions of your patio. This ensures sustainable growth without constant replacement.
4. Define Spaces with Outdoor Fabric Panels
Creating separate zones on your patio enhances functionality while adding visual interest, but traditional dividers like pergolas or screen walls can be prohibitively expensive. Outdoor fabric panels provide a budget-friendly alternative that adds color, pattern, and definition to your space.
For a simple yet effective installation:
- Purchase outdoor fabric (look for sales at around $8-12 per yard)
- Create rod pockets by folding and sewing the top and bottom edges
- Thread inexpensive electrical conduit pipes ($3-5 each) through the pockets
- Hang using cup hooks in overhead structures or attach to freestanding posts
These panels can serve multiple functions on your patio:
- Weather protection from sun or light rain
- Privacy screening from neighbors
- Visual separation between dining and lounging areas
- Backdrop for other decorative elements
The entire project typically costs $50-75 for a standard panel and creates an effect similar to custom outdoor drapery systems that retail for $200-300. For seasonal variation, consider creating multiple panels in different patterns that can be swapped out.
For particularly windy areas: incorporate releasable ties so panels can be secured when not in use.
5. Refresh Furniture with Paint and New Textile Covers
Rather than replacing perfectly functional but dated patio furniture, give it new life with strategic updates that cost a fraction of new pieces. Modern outdoor paints and affordable textile options make this one of the highest-impact, lowest-cost transformations available.
For metal furniture:
- Remove any rust with wire brush and sandpaper
- Apply rust-inhibiting primer
- Spray with outdoor metal paint in a contemporary color
- Finish with clear protective coat
For wood furniture:
- Sand thoroughly to remove old finishes
- Apply exterior wood primer
- Paint with exterior latex in your chosen color
- Protect with outdoor polyurethane
Once your furniture frames are refreshed, add new cushion covers using:
- Clearance outdoor fabrics (often available for $5-10/yard at end of season)
- Ready-made outdoor pillows from discount retailers ($10-15 each)
- Water-resistant tablecloths converted to custom covers ($15-20)
A complete furniture refresh typically costs $60-100 depending on how many pieces you’re updating, compared to $500-1,500 for new comparable furniture sets.
A successful case study comes from homeowner Rebecca T., who transformed a rusted, 15-year-old iron patio set with matte black spray paint and cushions she created from discounted outdoor fabric. Her total investment was $78, and the result looked like a high-end designer set that would retail for over $900.
Common Challenges with Budget Patio Transformations
Even with careful planning, budget patio renovations can present unexpected challenges. Here’s how to navigate the most common issues:
🌧️ Weather Resilience
Low-cost materials sometimes deteriorate faster under harsh conditions. Protect your investment by:
- Applying additional sealants to painted surfaces
- Bringing textile elements indoors during severe weather
- Choosing rust-resistant hardware for all projects
- Creating simple covers for furniture during off-seasons
🔨 Limited DIY Skills
Not everyone has extensive building experience. Overcome this by:
- Starting with the simplest projects (lighting and textiles)
- Using pre-cut lumber from home improvement stores
- Watching specific tutorial videos before attempting projects
- Adapting projects to use more assembly and less construction
🏠 Rental Property Limitations
For those who don’t own their homes, consider:
- Freestanding solutions that don’t require permanent installation
- Using planter bases to support structures rather than ground anchoring
- Creating modular designs that can move with you
- Focusing on decorative elements rather than structural changes
One particularly versatile solution for renters involves using large planters with built-in trellises as both greenery and privacy screens, creating transformation without permanent changes to the property.
Regional variations are also important to consider—desert climate dwellers should emphasize shade creation, while those in rainy regions should prioritize covered areas and water-resistant materials.
Bringing It All Together: Your Budget Patio Transformation Plan
Transforming your patio on a budget isn’t about implementing isolated projects—it’s about creating a cohesive design that feels intentional rather than piecemeal. The key is selecting complementary elements that build upon each other while maintaining a unified aesthetic.
Begin by selecting a simple color palette of 2-3 main colors plus 1-2 accent colors to guide all your projects. This ensures that separate DIY elements will feel connected rather than random. Start with the largest visual element (typically floor or furniture) and build additional projects around that foundation.
For maximum impact with minimal investment, prioritize your projects in this order:
- Surface treatments (painted concrete, outdoor rug)
- Furniture refresh
- Ambient lighting
- Privacy/definition elements
- Decorative accents and plantings
Remember that the most successful budget transformations don’t try to mimic expensive designs directly, but rather create their own distinctive character through creative use of accessible materials. The constraints of working with limited resources often lead to more innovative and personalized results than simply purchasing high-end products.
As you implement these changes, keep in mind the connection to your broader backyard design as outlined in our main guide on 10 Budget-Friendly DIY Projects to Transform Your Backyard into an Oasis.
Frequently Asked Questions About Budget Patio Transformations
🔨 How long do painted concrete “rugs” typically last before needing refresh?
With proper preparation, quality concrete paint, and a good sealer, a painted patio design can last 3-5 years with minimal maintenance. Areas with harsh winters or intense sun exposure may require touch-ups more frequently. Apply a new coat of clear sealer annually for maximum longevity.
💰 What’s the single most impactful patio upgrade for under $50?
Lighting consistently delivers the most dramatic transformation for minimal investment. A set of string lights ($25-40) combined with solar accent lights ($15-20) creates an entirely new atmosphere that elevates the entire space, regardless of other elements.
🌱 Which plants give the most visual impact for minimal cost and care?
Ornamental grasses provide maximum visual impact with minimal investment and maintenance. Varieties like Mexican Feather Grass or Dwarf Fountain Grass create movement and texture while typically costing $8-12 per plant. For vertical impact, climbing vines like Jasmine or Clematis quickly cover structures while starting at $15-20 per plant.
🔧 How can I make sure my DIY patio projects last through multiple seasons?
Material selection is crucial for longevity. Choose pressure-treated lumber for any wooden structures, stainless steel or galvanized hardware for connections, and UV-resistant fabrics for any textile elements. Apply appropriate sealants to all projects, and create simple covers or storage solutions for harsh weather periods.
🏡 Will these budget transformations actually increase my home value?
While individual DIY projects may not significantly impact appraisals, a cohesively designed outdoor living space absolutely influences buyer perception and sell-through time. Real estate professionals report that homes with attractive, functional outdoor spaces typically sell 20-30% faster than comparable properties without them, even when the improvements were completed inexpensively.
Resources and Next Steps for Your Patio Transformation
Ready to transform your patio into an inviting outdoor space without breaking your budget? Here are the resources to help you get started:
First, explore our main guide 10 Budget-Friendly DIY Projects to Transform Your Backyard into an Oasis for a comprehensive approach to your entire outdoor space.
Have you tried transforming your patio on a budget before? What creative solutions did you discover that we might have missed? We’d love to see your before-and-after photos and hear about your experiences in the comments below!
Ready to start your own transformation? Save this article for reference and share it with friends looking to upgrade their outdoor spaces without spending a fortune. Your beautiful new patio space is just a weekend project away!
Related Articles


About the Author

0 Comments